Have you ever wondered whether your electronics support an optical interface for high-quality audio transmission? Or maybe you want to connect your devices to an amplifier via fiber optic cables for superior sound? This guide will walk you through identifying optical interfaces and using them to connect to an amplifier.
1. How to Determine if Your Device Has an Optical Interface
To check if a device (e.g., amplifier, stereo, TV) supports an optical interface (typically a TOSLINK interface), start by examining its physical ports.
Physical Characteristics of Optical Interfaces
- Shape: Round or square plastic ports.
- Color: Most commonly orange, but some devices may use black or grey.
- Labels/Logos: Look for these markings near the port:
- OPTICAL (most common)
- TOSLINK (a standard developed by Toshiba)
- Digital Out/In (may refer to both optical and coaxial interfaces).
2. Connecting an Amplifier via Fiber Optic: A Detailed Guide
Optical connections offer clean, low-latency audio transmission. Here’s how they work and how to set them up.
How Fiber Optic Connection Works
- Signal Conversion: Digital audio signals from devices (TVs, projectors, computers) are converted into optical signals (light pulses) by the output device.
- Transmission: These signals travel through a fiber optic cable to the amplifier.
- Amplification: The amplifier receives the optical signals, converts them back to electrical signals, amplifies them, and sends them to speakers for high-quality audio output.
Advantages of Fiber Optic Connection
- Low-Distortion Sound Quality: Digital transmission reduces interference and maintains signal purity for realistic audio.
- Wide Compatibility: Works with most digital audio devices (CD players, TVs, computers).
- Long Transmission Distances: Signals remain clear over longer distances compared to analog cables.
- Strong Anti-Interference: Resists electromagnetic noise for stable audio.
Step-by-Step Setup Instructions
- Confirm Interfaces:
- Check that both your amplifier and audio source (e.g., TV) have optical ports labeled Optical In, Digital In, or S/PDIF.
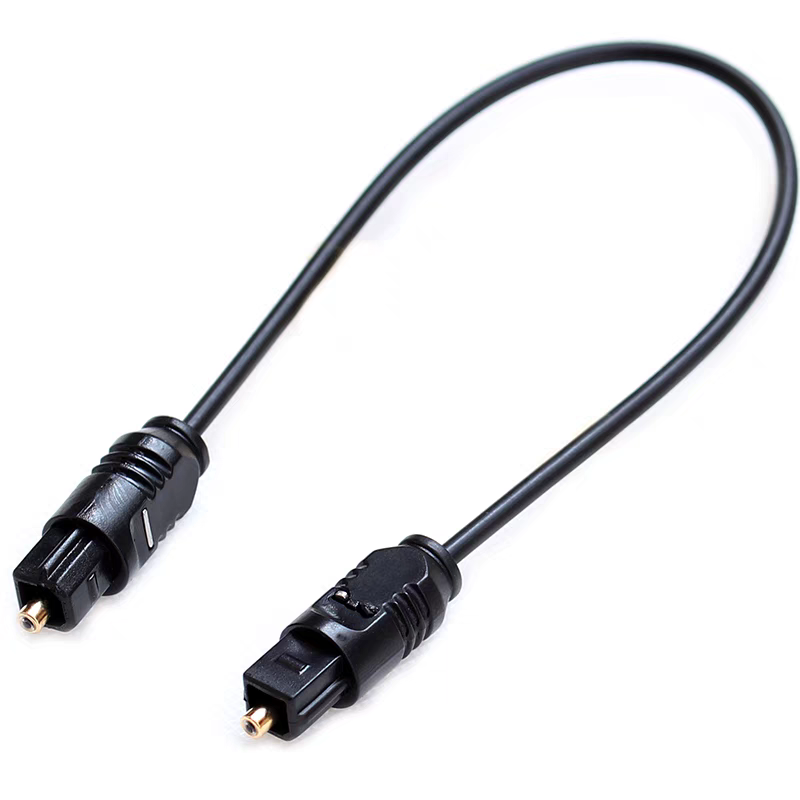
- Prepare Cables:
- Use a fiber optic cable with TOSLINK connectors (standard) or Fiber Mini connectors (for smaller devices).
- Connect Devices:
- Plug one end of the cable into the Optical Out of your audio source (e.g., TV).
- Plug the other end into the Optical In of the amplifier. Ensure a secure fit.
- Configure Audio Settings:
- On your audio source (e.g., TV), go to Settings > Sound and select Optical as the audio output method.
- Test the Connection:
- Play music or a video. Adjust volume and sound settings on the amplifier or speakers as needed.
Final Tips
- Cable Care: Avoid bending fiber optic cables sharply, as this can disrupt signal transmission.
- Troubleshooting: If no sound plays, check cable connections, reconfirm audio output settings, or try a different cable.
With these steps, you can enjoy high-fidelity audio through your amplifier using a fiber optic connection. Happy listening!